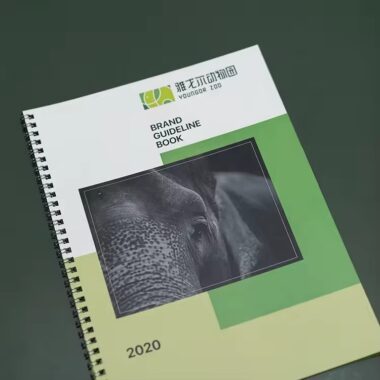
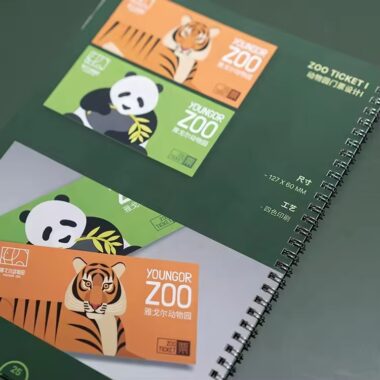
📘 How to Prepare Files for Booklet Printing and Proofing
When creating a custom booklet, design quality is only half the story — proper file preparation ensures what you see on screen looks exactly the same in print. Even small mistakes like incorrect margins or missing fonts can delay production or cause color errors. This guide explains how to prepare professional, print-ready files and what to expect during the proofing process.
🧾 1. Start with the Correct File Format
Printers use specific file types for production. The most widely accepted format is PDF/X-1a, which embeds fonts, images, and color profiles. Avoid sending open design files (like .AI or .INDD) unless requested.
Make sure to:
Flatten all layers and transparencies.
Embed all images instead of linking them externally.
Check that resolution is at least 300 DPI for clear results.
A reliable booklet manufacturer can provide you with their preferred format or preset export settings to make this process easier.
🧭 2. Set Up Trim, Bleed, and Safe Margins
Printing involves trimming edges after production, so your design needs extra space to avoid cutting mistakes.
Bleed area: Extend all background images or colors 3mm (1/8 inch) beyond the trim line.
Safe margin: Keep important text and logos at least 3–5mm inside the trim line.
Trim line: The final size after cutting.
These margins ensure that even slight shifts during cutting don’t affect your content.
🎨 3. Convert Colors to CMYK Mode
Unlike screens that display RGB light, printers use CMYK inks (Cyan, Magenta, Yellow, Black). If you design in RGB, colors may look brighter on your monitor but appear duller in print.
Before exporting your file, convert all images, graphics, and elements to CMYK. You can also ask your custom booklet printing supplier for their ICC color profile — this ensures accurate reproduction based on their press calibration.
🖋️ 4. Use High-Resolution Images
Image resolution directly affects printing sharpness.
Use at least 300 DPI for photos and graphics.
Avoid stretching images beyond their original size.
For vector logos, use AI or EPS files — they scale perfectly at any size.
Low-resolution images might look fine on screen but will appear pixelated when printed. Always review your images at 100% zoom before submitting the final file.
📑 5. Ensure Proper Page Setup and Order
In booklet printing, pages are arranged in specific ways (called imposition) so they print correctly when folded and bound.
Always design as single pages, not as spreads, unless your printer requests otherwise.
Check the total page count — saddle-stitched booklets must be in multiples of four.
Name files clearly (e.g., “Booklet_Cover.pdf” and “Booklet_Pages.pdf”).
Your booklet factory will handle final imposition for printing, but organizing your files correctly saves time and prevents errors.
🪶 6. Embed Fonts and Outline Text
Fonts can shift if they aren’t embedded, causing unexpected layout issues.
Always embed fonts when exporting your PDF.
If your fonts don’t allow embedding, convert them to outlines.
Avoid using rare or unlicensed fonts that might not print correctly.
Once converted to outlines, text becomes vector shapes — they’ll print exactly as designed, regardless of the computer used.
💡 7. Include Crop Marks and File Naming
Crop marks show where the booklet will be trimmed. Add them when exporting, but avoid unnecessary registration marks unless required.
Use consistent naming conventions (e.g., “ClientName_Booklet_A5_CMYK.pdf”) so files are easy to identify. This step seems simple but makes production management much smoother.
🧵 8. Proofreading and Content Review
Before submitting your files, double-check:
Spelling, grammar, and product details.
Image placement and alignment.
Page numbers and sequence.
It’s best to have a colleague or client proofread the file — fresh eyes catch errors you might overlook. Printing mistakes can be costly once production begins.
📘 9. Understanding the Proofing Process
Most professional printing companies offer one of three proof types:
Digital Proof (PDF): Sent via email for you to review layout and text accuracy.
Hard Copy Proof: A physical sample showing actual color, texture, and binding.
Press Proof: The final print test before mass production, used for large-scale jobs.
Always review proofs carefully. Confirm color tone, alignment, and trimming before giving final approval. Once you approve a proof, the production run begins — changes afterward may incur costs.
🧮 10. Communicate Clearly with Your Supplier
Communication prevents 90% of printing issues. Provide your supplier with:
Final page count and size (A4, A5, etc.).
Cover and inner page materials.
Finishing details like lamination or spot UV.
An experienced booklet printing factory will confirm specifications, suggest improvements, and help you optimize files for faster turnaround.
🏁 Conclusion
Preparing files properly is one of the most overlooked steps in printing, yet it’s the most critical for achieving professional results. Taking time to set correct bleeds, resolution, and color modes ensures your booklet prints exactly as expected.
By working closely with a trusted booklet manufacturer, you’ll save time, reduce costs, and eliminate rework caused by technical errors. Whether you’re printing a corporate catalog or promotional magazine, clean, proof-ready files are the foundation of quality.
For more details, visit our Custom Booklet Printing or Saddle-Stitched Booklet pages to explore professional printing and file setup guidelines.